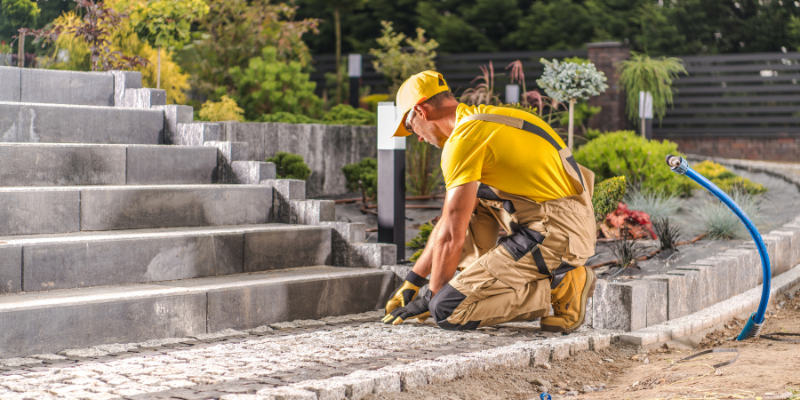
Natural stone steps instantly upgrade a landscape. They solve grade changes, improve safety, and bring the kind of curb appeal that only real stone texture can deliver. In Ontario, freezing winters, humid summers, variable soils, and spring runoff mean proper planning and base prep matter as much as the stone choice itself.
In this guide, you’ll learn how to measure total rise, size safe and comfortable treads, prep a stable, well‑drained base, and set each step course so the whole staircase stays tight for decades.
Why Choose Natural Stone Steps?
Natural stone offers durability, weight‑based stability on slopes, and timeless curb appeal that blends with Ontario’s native limestone, sandstone and granite landscapes. Properly sourced natural step units are milled or hand‑dressed for consistent heights yet retain authentic texture that wears in (rather than wears out) over decades.
Overall, it will last longer than timber or poured concrete and look stunning in any landscape design.
Plan Your Staircase (Rise, Run, Layout & Drainage)
Measure the total vertical change (rise) where your steps will go. Divide by a comfortable riser height, such as 6 to 8 inches, and round so each course is consistent. Pair that with a tread (the front‑to‑back depth you step on) of 12 to 16 inches; this range is commonly used in landscape construction across Canada and conforms to local building codes.
Stake or paint the stair alignment so you can visualize width, landings and transitions to adjacent walks or patios and share the layout with your contractor.
Also, good drainage matters! Choose a line that already sheds water or can be graded so meltwater and rain move off and around the steps and not behind them.
Tools & Materials
You’ll need:
- Tape measure
- Stakes & string or landscape marking paint
- Flat shovel
- Square shovel/spade
- Digging/pry bar
- Wheelbarrow
- Hand tamper (plate compactor if available)
- Long level or laser level
- Safety gear: gloves, steel‑toe boots, eye protection
For the foundation, use a well‑compacted granular base such as ¾” crusher‑run (Granular A) or, in drainage‑sensitive sites, an open‑graded clear stone base over a permeable landscape fabric.
Skip polymeric sand as solid natural step blocks do not require joint fill and skip adhesives unless you are marrying stone to concrete or coping details that call for it.
Step‑by‑Step Installation
1. Excavate & Shape the Slope
Strip sod and loose topsoil down to firm subgrade along the full stair path. Start at the bottom so you can build upward on stable ground.
2. Establish the First Base Pad
Excavate a trench for the first step that’s wider and deeper than the stone thickness. Install geotextile if the soils are silty or you’re building an open‑graded base. Place 4 to 6 inches of compacted aggregate (crusher‑run or clear stone, depending on drainage) and level. Adequate compaction now prevents settlement later.
3. Set the First Stone Riser
Place your lowest step stone on the prepared base. Level side‑to‑side; pitch very slightly (about 1/8 inch per foot) back or forward as site drainage dictates, so water doesn’t sit on the tread. Shim with stone chips if needed.
4. Backfill & Build Upward
After confirming the first stone is solid, backfill behind it with compacted aggregate to support the next riser.
Repeat.
Excavate the seat for the next stone, install compacted base, set stone, check level and pitch. Consistent riser heights reduce trip risk, so use your pre‑calculated rise to guide each course.
5. Blend Into Grade
When the top course is in, backfill and feather surrounding soil into the stone edges, reseed disturbed lawn, or tie into adjoining walkways or landings. Allow the installation to settle naturally; re‑tamp disturbed side fills after heavy rain if needed.
Drainage & Frost‑Heave Protection
Ontario’s seasons demand drainage. Extend your compacted base at least several inches behind and beneath each stone so water can move through the aggregate rather than trapping against the back of a riser.
In wetter slopes, consider a perforated drain wrapped in fabric behind the step run to carry water away. Adequate drainage dramatically reduces winter heave and uneven settling.
Finishing Touches
Brush off debris, confirm each tread surface offers secure footing, and consider adding low‑voltage step lighting or path lights along the approach for nighttime safety. Integrate planting pockets or boulders to soften edges and tie the stairs into the surrounding landscape.
Seasonal Care (No Sealing Required)
Natural stone steps generally do not need film‑forming sealers; many installers leave them unsealed so the stone can breathe and maintain natural traction. Instead, focus on basic maintenance: sweep grit, rinse mud, and remove organics that hold moisture; re‑grade washed‑out side soils; and reset any stones that shift after freezing cycles or heavy use. Use non‑acidic, stone‑safe cleaners only when needed.
When to Call a Pro
Some stone stair projects cross the line from weekend DIY to jobs best left to the experts. Here’s when a contractor should be involved:
- Heavy lifting: Individual step stones over ~300 lb (many full‑depth natural units are) require proper rigging, machinery, and experience to place safely.
- Complex builds: Curved runs, integrated retaining walls, terraced slopes, drainage tie‑ins, or code‑required railings call for professional layout and equipment.
Get help fast! Grand River Natural Stone can connect you with trusted Landscape Ontario‑certified contractors who work with natural stone every day. Let us know what you’re planning.
Ready to Build Stunning Natural Stone Steps?
Bring your measurements to Grand River Natural Stone. Our team can help you choose the right Ontario‑sourced stone materials, calculate quantities, arrange delivery, and connect you with experienced installers if the stones are too heavy to handle solo. Build steps that look great, feel safe and last for decades with Grand River Natural Stone.
Contact us today with any questions.


